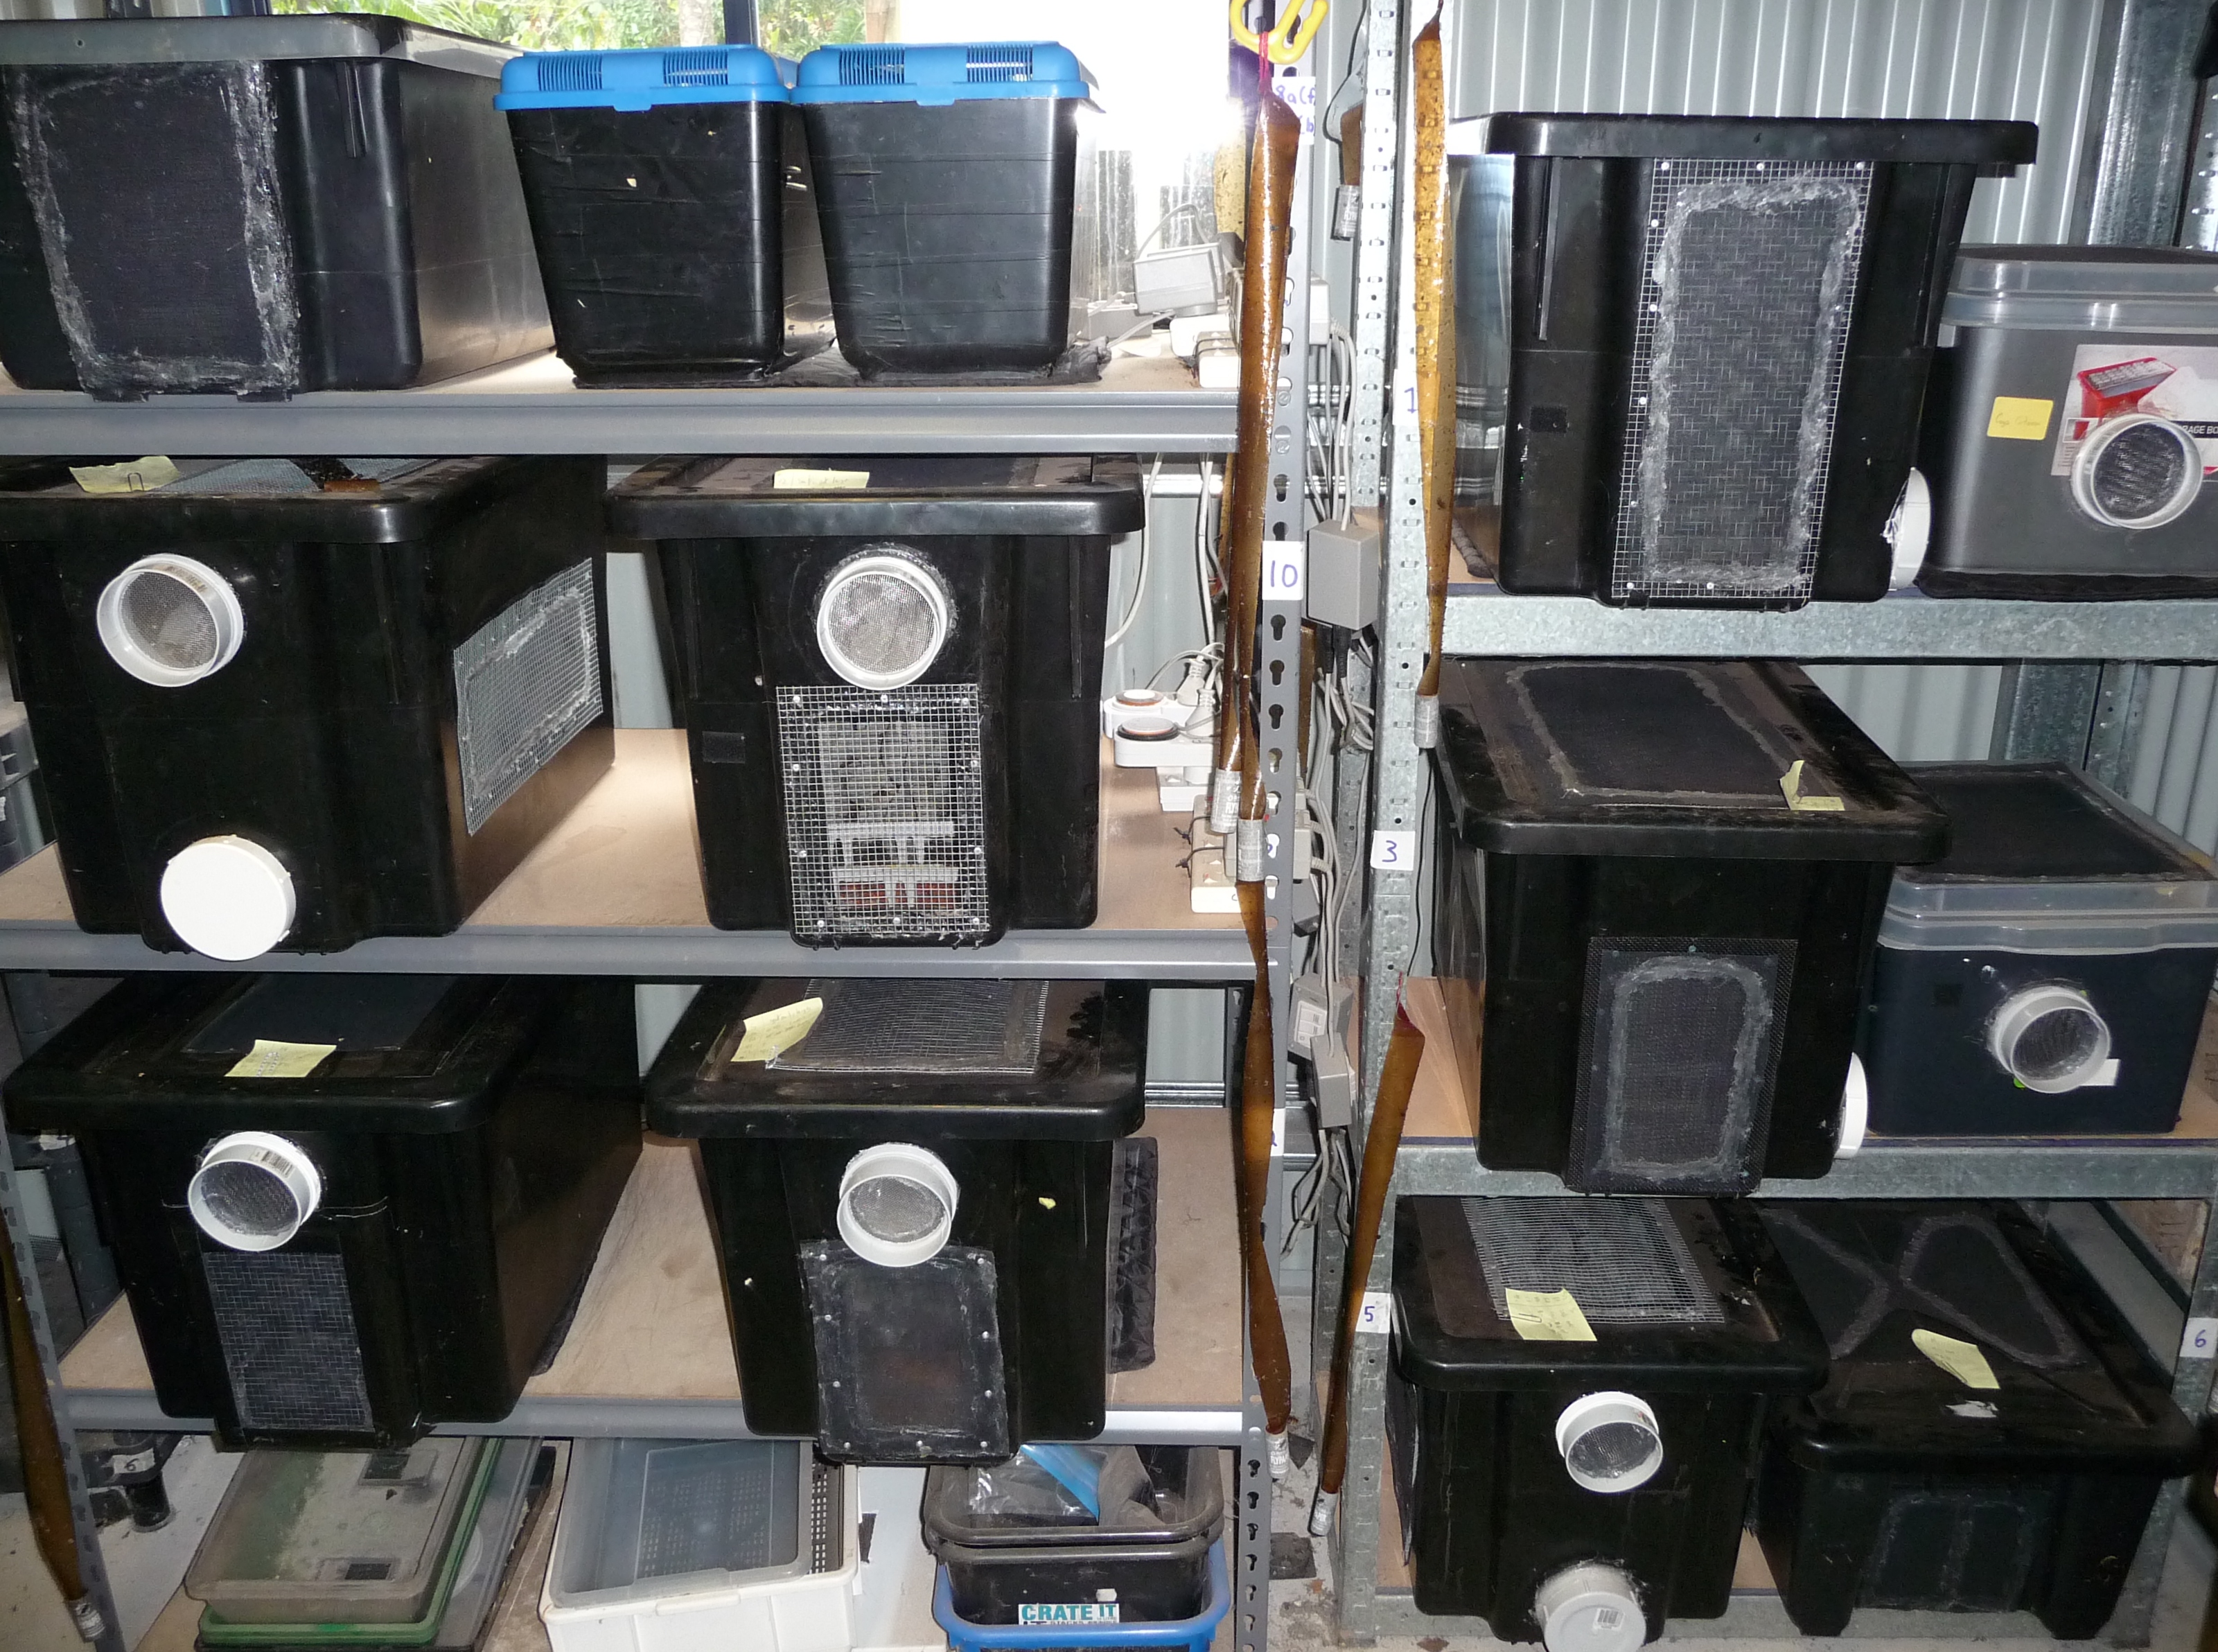
Good records will enable you to manage the colony efficiently and to determine a good maintenance schedule and production rates.  I used to keep very detailed notes and it became very clumber some and difficult to interpret. We have subsequently reverted to a simple spreadsheet which gives us all the information we need to manage the colony effectively. This spreadsheet can be changed and adapted as required for your colony. For smaller operations this may be too much work and you may opt not to do this. However every mealworm farm should at the very least have the week numbering system outlined below to help manage separation and rotation activities.

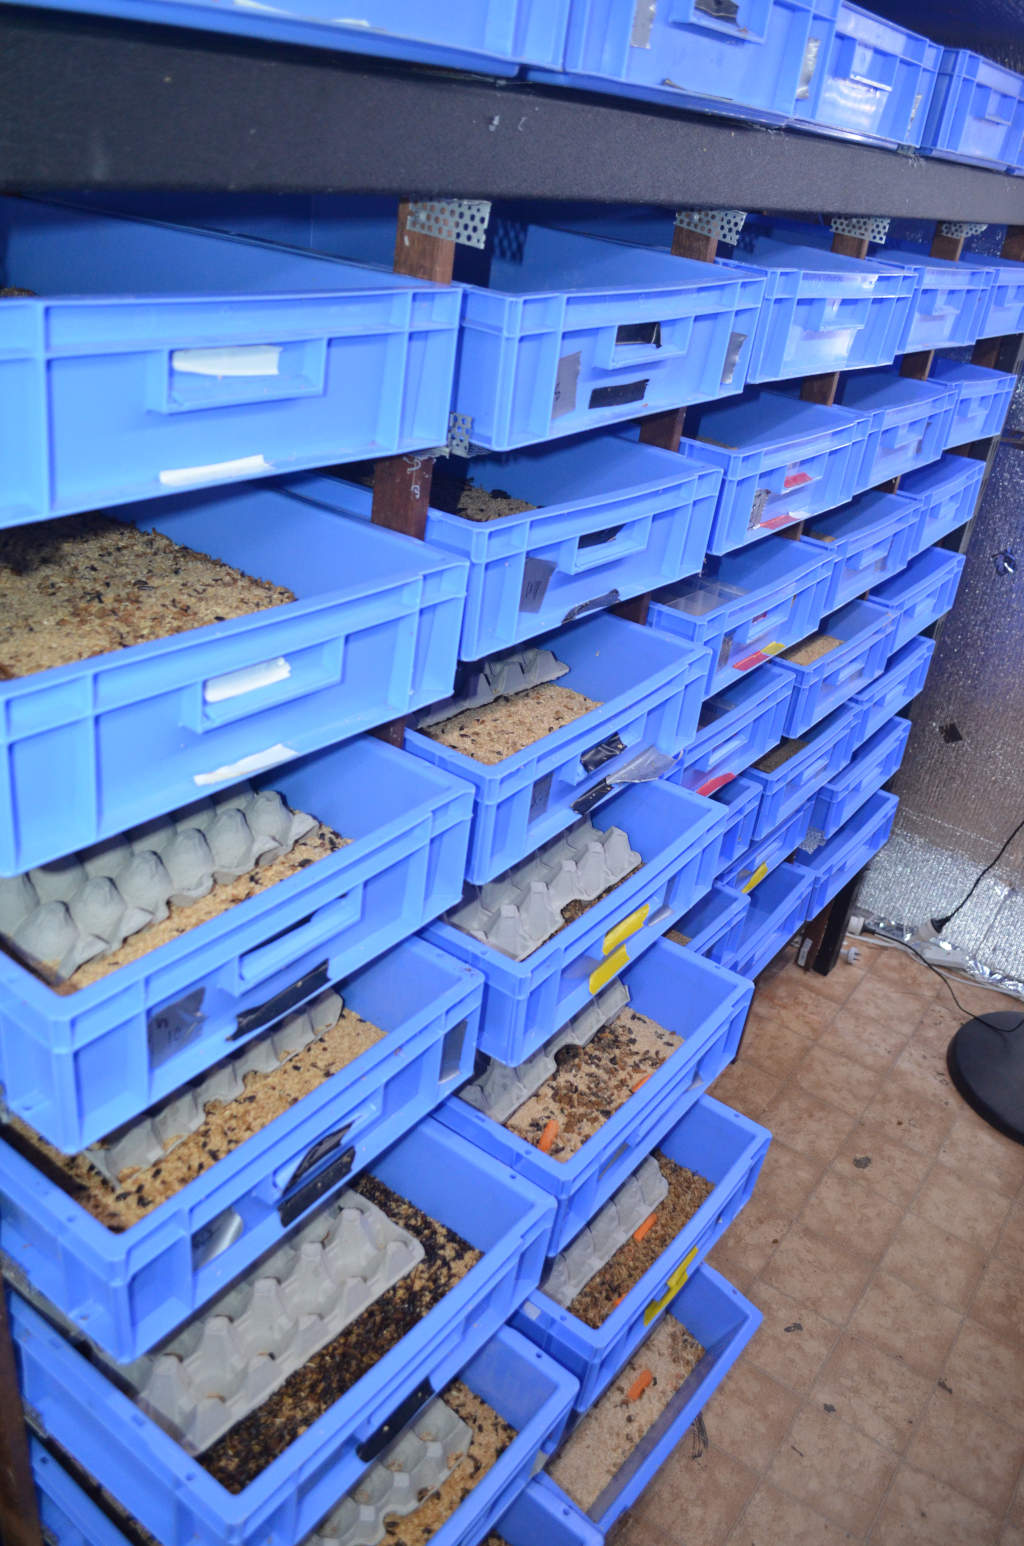
photo of two labels on a row of blue mealworm trays. The labels tell the insect farmer which week the mealworms were reared and how much wet food to add daily.

Bench Marking Changes (Commercial or large scale Breeders)

If you are a commercial or large scale breeder, we recommend you benchmark any changes you make. We are very interested in recording any changes a breeder makes to their system,  whether it be positive or negative (please email to Glenn, info@info@breedinginsects.com). In this way we can help you determine the best results, based on real life breeders and setups. Failed experiments are sometimes just as important as success ones, so any insights is useful. To get the best results, below are some recommended tips below to help benchmark changes you make and production rates:

  •  Keep basic records (ie describe change and date) and observations whether it be anecdotal (i.e. more pinheads observed) or quantitative (i.e production went from 800 individuals to 3000).
  • Simple 4 column tables are far easier to record and give more meaningful results than complicated 15 column tables. Look for ways to simplify the recording process. For instance to record food consumption you could measure the inputs of each individual container or just count the no of bags of food you consume per month. (much less work, and equally effective).
  • Any observation is insightful. Often the most useful column is the “comments/observation”
  • Where possible try to do one change at a time so you can determine the effect of that new variable.
  • Do a pilot on a small sample size before implementing anything across your whole operations just to demonstrate it works effectively (Theory, expectation and and practice don’t always align).
  • Where possible try to do one change at a time so you can determine the effect of that new variable.
  • Do a pilot on a small sample size before implementing anything across your whole operations just to demonstrate it works effectively (Theory, expectation and and practice don’t always align).

Labeling Week Numbers

Using week numbers is a very handy way to keep track of how old a tray is. If you Google “Week numbers: and go to Images you will see that every week of the year is assigned a week number. First of January is Week 1 (W1) and 30th December is Week 52 (W52). Print this off and have it handy so you can label each tray its appropriate week number as outlined below.

Every new tray you set up, whether it be a breeding tray or a grow out tray (Any tray with worms…where they grow) you put a week number on it using tape. I use week numbers and not dates as the maths is much easier when you use week blocks (see below). This allow you to track the age of every tray I have in the caravan which will tell me 2 main things:

  • Determine the age of breeding and grow out stock
  • Track maintenance and production rates

Tip:

To quickly identify different breeding tray types, place colored electrical tape on the front of the trays. Below are colors we use:

  • Yellow tape- super worms (as they are yellow)
  • White tape- Pupae  
  • Black tape- Beetles (as they are black)
  • Rearing trays have no tape. 

Determining Age of Breeding and Grow out stock

For discussion sake lets say that currently we are in week 20. When I set up a new beetle tray for this week (and you will do one every week) you label it W20 (Week 20). The next weeks beetle tray will be W21 and so forth. Now lets say I come back in 10 weeks time (W30), I can now look at all my beetle trays and do some simple maths (W20-W30) and know that W20 tray  is 10 weeks old. In this way at any time moving forward I know how old every tray is. This is important as after 8-9 weeks I will want to discard the oldest beetle trays as they are no longer producing lots of eggs. The oldest tray is removed and replaced with the new beetle tray for the current week (W20 currently).

The same principle applies to grow out trays. When I filter the beetle tray and remove the eggs/substrate into a grow out tray I will label this new tray (currently W20). Next week I repeat the process and create a new grow out tray which I label W21. I repeat this process and labelling every week. So moving forward I have a look at my trays in W30, l will then know W20 tray is now 10 weeks old. Worms take around 8-10 weeks to get to large size at 25-28 degrees so I know this tray is ready for sale…or if I want medium mealworms I jump back 2 weeks (W28).

Track Maintenance and Production Rates

I record all maintenance activities and production rates so I know how frequently I need to do maintenance and how much output I get. I have attached a simple spreadsheet which I use.

Lets say I have just put in this weeks (W20) grow out trays (eggs/substrate from beetle trays) and I come back in 4 weeks time (W24). I look in the tray and the baby worms are now half grown and have lots of frass and castings which need to be cleaned. I then go to my “Records Spreadsheet” and record that I am undertaking a frass clean at W24, for grow out tray W20. When I look back at my records I will then see that most of the maintenance is required when the worms are 4 weeks old as all they trays are having maintenance at the same time. In this way we can see patterns which we can use to determine a maintenance program.

Now lets say someone places an order 2 weeks later after the maintenance at W26 for 250g of medium mealworms. I know that medium mealworms are approximately 6 weeks old so if this week is W26 then W20 should have medium mealworms. I take out 250g of medium mealworms from W20  trays and then record both the week it was removed (W26) and the age I am taking (W20). When I look back I can tally up all the W20 harvest amounts and say in total I harvest 3kg from W20. So now I have kept track of my maintenance and production rates I am removing. Down the track I can then compare my production rate with food inputs or temperature variations (if no climate control).

What to Record

Below is a list of things which are useful to record. To start with if its too much, simplify so it suits your needs and over time you will find you will add more. The information is best recorded using a spreadsheet either paper form or entered directly into a device See below section for a basic spreadsheet you can download.

  • Number each new batch of beetles with a “week number”
  • Number each new batch of eggs with a “week number”. By recording the week in which these two things started, you will know the age and number of weeks of development of everything moving forward.
  • Total number of beetle you have in a breeding system in liters (This is best done when you do maintenance and you remove the substrate/eggs from the beetles). Take note of any significant losses and record.
  • Once you have a full cycle, record the “week number” for when worms reach small, medium and large, pupa, beetle. This will give you an idea on how many weeks it takes to meet production milestones.
  • When you harvest, record the amount removed in grams or liters.
  • In the link provided above there is a Activity Spreadsheet at the end which should give you ideas on how to record information.
  • Record any major change in the colony both good or bad. Try to record what you think made the observed change.

Using the Activity Spreadsheet

 Below is the Activity Spreadsheet which records standard activities such as harvest amounts, frass and casting cleaning along with the time it takes to undertake activities.

 Click here for Mealworm Activity Spread Sheet

Use the Whole colony tab. Note there are Comments (purple tag in top right corner) for each Heading to help you to work out how to fill it in.