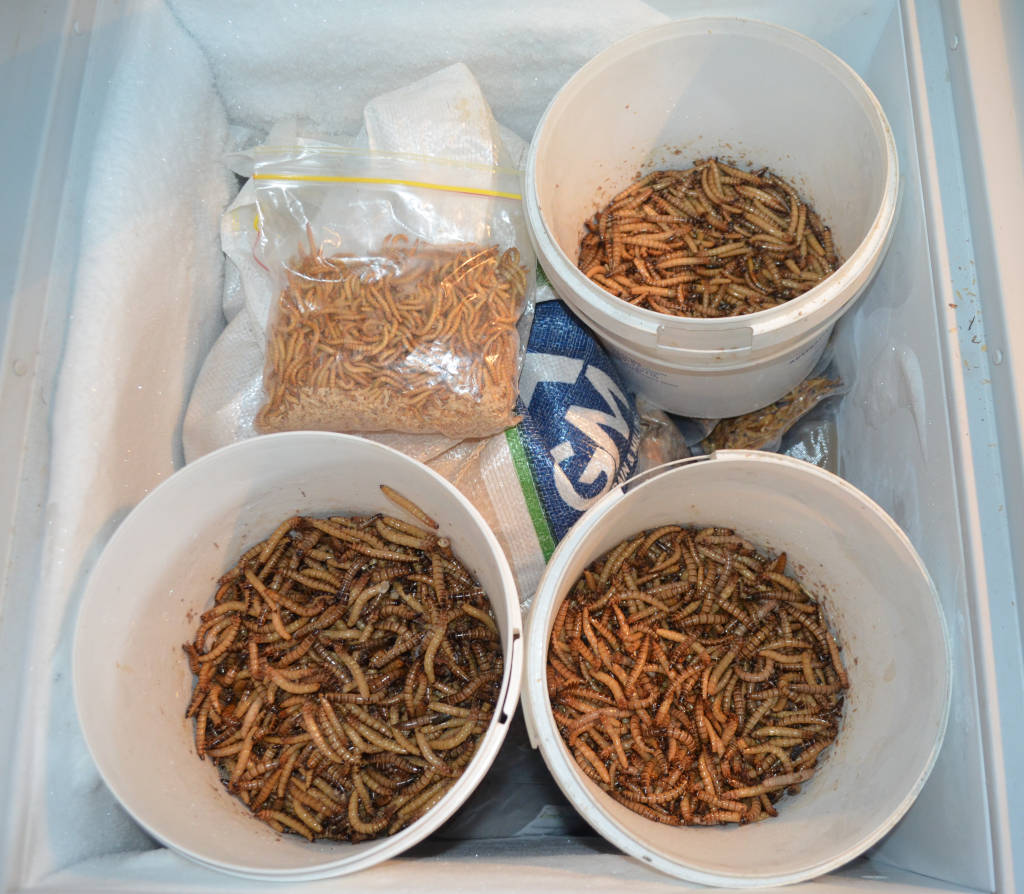
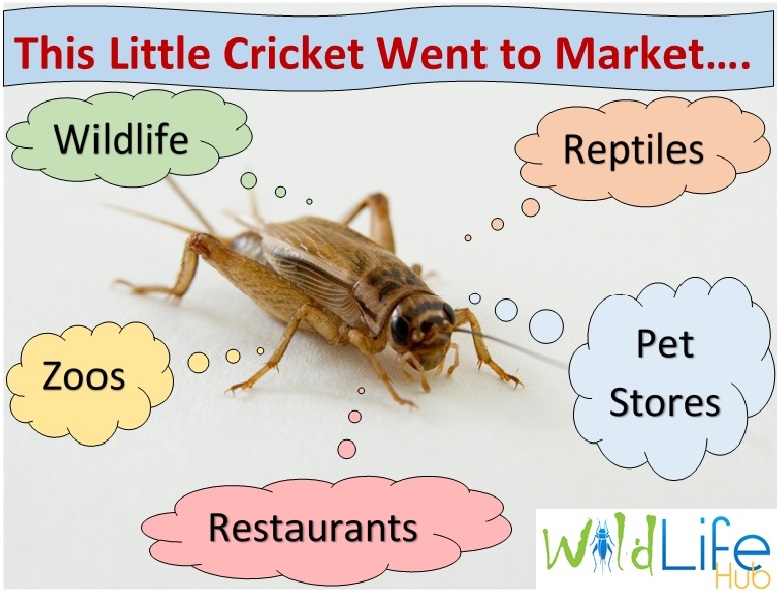
One way to manage excess stock is to freeze it and sell it as stock feed places to chickens, fish, pigs. It can also be used to feed wildlife by reptile owners, wildlife rescue, zoos etc. Generally frozen stock is sold much cheaper than live stock so it is a cheap insect source to zoos etc who can feed them to animals that don’t need to have live food.
The process to follow to vacuum sealing is as follows:
Pre-Freezing
When you vacuum seal insects it can draw out body fluids which freezes into a ice block. This makes removing the insects difficult and you should aim to have them loose so that the client can grab a handful, reseal the zip lock bag and place it back into the freezer. To achieve this you can pre-freeze your insects to a point where they are semi frozen, but you then break them up using a spatula so they don’t freeze together as a block.
Every freezer and vacuum sealer will have different suction or freezing capacity, so you need to trial your insects to see if which insects require this step. With the equipment we use we have found that crickets generally don’t need this step, yellow mealworms do most of the time and Giant mealworms do this pre-freezing.
Interestingly we have found that crickets don’t freeze as a block (stay loose) however the vacuum bag does not seal properly. We get a tight vacuum seal for both species of mealworms, but for some reason crickets don’t vacuum seal as well. This is not generally a problem as the loose frozen form is good for clients.
You may need to repeat the above process of separating the insects as required, until they are separate and frozen. They are then ready for vacuum sealing.
Making a Bag Length Template
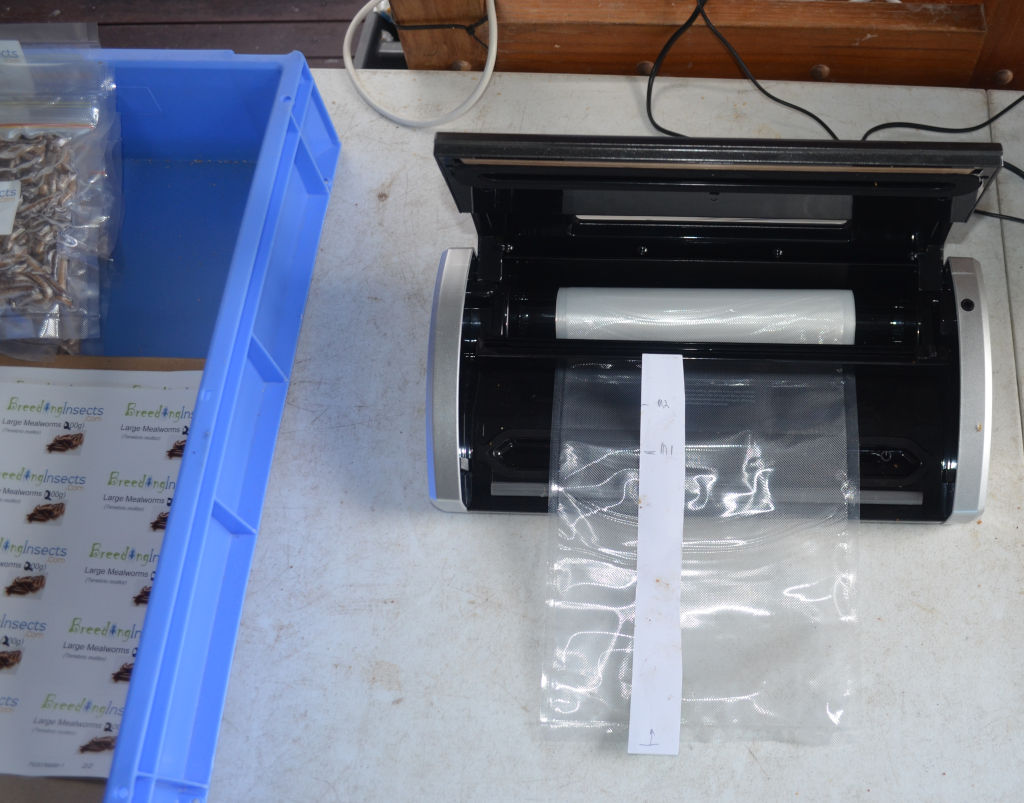
- A height template allows you to measure out the length of the bag without the need to individually measure the length with a ruler.
- We found 200g was a good size for clients as it allowed you to sell 5 bags per kilogram at an affordable price and convenient size. Adjust as required once clients provide feedback.
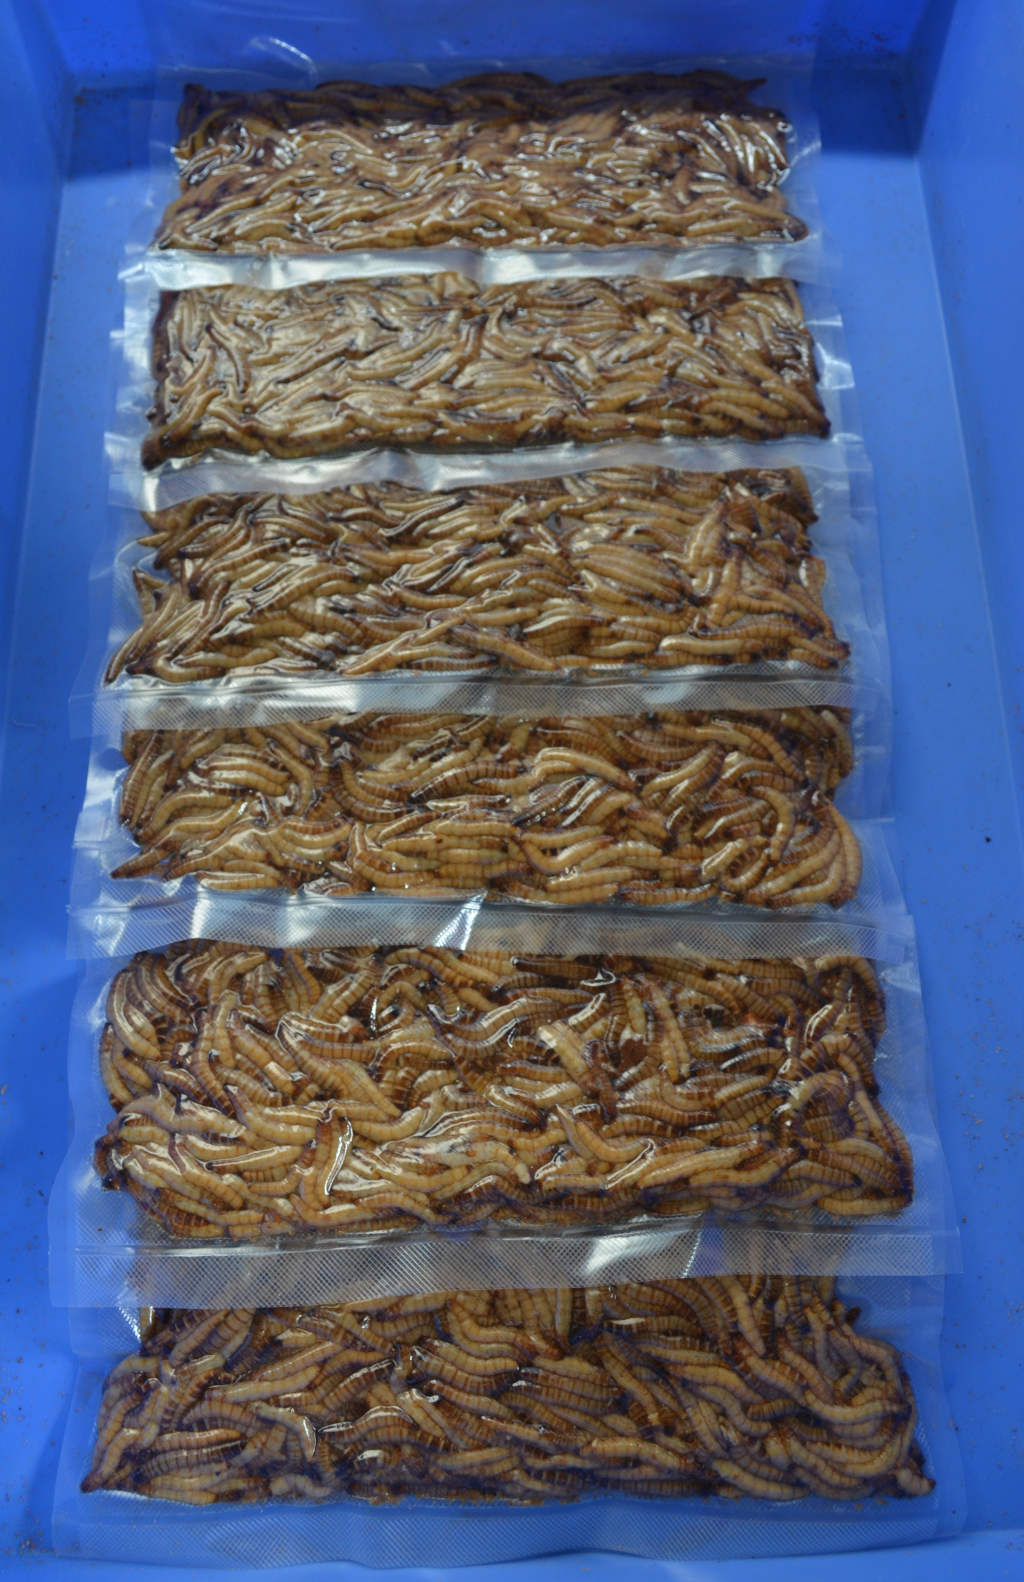
- Visually making the bags flatter makes the product look larger and also is a convenient shape for storage in stores (placed vertically in boxes).
- During the vacuuming process moisture is sucked from the insects which is drawn up to the bag opening (bleeding). Do a test run to work out what “bleed” margin you need to leave so that no water bead is present along the vacuum seal as this will break the bag vacuum and fail.
- Do a practice run of sealing the bag to determine a final bag length. The bag length should include the section for the insects, the water bleed margin and 1cm width above the seal.
- Once you have worked out the bag width, you can then make a template by placing a mark on a piece of cardboard. You can then use this template to measure the bag length.
Vacuum Sealing
- Pull the roll under the cutter bar at the top and pull it through to the sealer section.
- Place the end of the roll into the vacuum chamber and along the sealer section. Press the sealer button to seal the end.
- Continue to pull the roll through the machine and use the bag Length Template to determine the location to cut the bag (This end will be open and be the top of the bag). Cut the bag to this length using the cutter bar.
- Remove the bag and fill up with insect product. The insects can be either live or if required pre-freeze the insects to make sure they are loose (Refer to above section).
- Place them in the bag then flatten them so they make a flat shape. Place the top into the vacuum chamber and make sure there is not insect or water over the area to be sealed (or it will fail to create a vacuum and fail).
- Press the vacuum and then the seal button to seal the bag. As it begins to vacuum the air out, use your fingers to square off the top of the bag and flatten it into the desired shape.
- Place the bag to the side and repeat. After about 15 bags place them into the freezer stored in a vertical position in a box. This helps them freeze into their final shape.
Marketing
- Frozen stock are a great way to make money from the excess stock you have between selling live insects. As they can be frozen they are far more flexible as a product with a long shelf life. It is also a good backup supply if you don’t have enough live product. This is particularly important in natural disasters (fires, floods) where live insects are in short supply due to transport restrictions
- Drop off free samples of your product to produce or pet stores so they can test the product and see how the clients respond.
- Play with different sizes to maximize profit. We started making them into 250g bags (4 per kilogram) at $12 each (retail price), but found that selling 200g bags (5 per kilogram) made more money for selling them at the same price.
- In our area chickens were the main market for frozen insects. Once you know your key market, then market those stores that supply this species.
Visit here for more Information on how to find different Markets for breeding insects.
Tip:
To work out if chickens are a key market go to a produce store and see how many bags of chicken food they sell. If 80% of the bags are chicken feed then you will have a better chance of selling frozen insects to a pet store that has only 20% chicken bags on the shelves. When you buy your dry food, ask the owner how many people buy live chickens or chicken food.


