Safety Considerations - Must Read- (Click Here)
Be sure to read the Safety section of the book prior to using heating devices.
We have used heating devices for many years without an incident, however there is always an potential risk of fire or electrocution with any heating device. For this reason we don’t provide specific advice on the safety consideration for your setup, and every person must undertake their independent research and precautions for the individual setup.
Whilst we don’t provide specific advice, we can advise some general safety considerations we use for our operations:
– Use a quality thermostat
– Don’t use heating devices which are over powered (ie excessive heat pads/coils) which might create a fire risk if thermostat fails.
– Follow the safety instructions provided with supplier/retailer
– Have no combustibles under them (for example wood, paper). We often use ceramic tiles.
– Only use certified products that comply with your countries safety standards
– Regularly check the temperature of the bottom of the container to make sure its not over heating
– Heat coils aren’t kinked or bent at sharp angles, and never overlap.
– Regularly check heating devices for damage (rodents and even cockroaches can eat them)
– Install fire alarms
As outlined in other sections, heat source during cold weather conditions is an essential for a productive breeding colony. Every person will have their personal preference when it comes to choosing their heating method.
Circulation is essential to equally distribute air flow for heat and cooling. Click here for more details.
Below are various heating systems to provide you with the various options to heat insect containers or trays.
Heat Mats
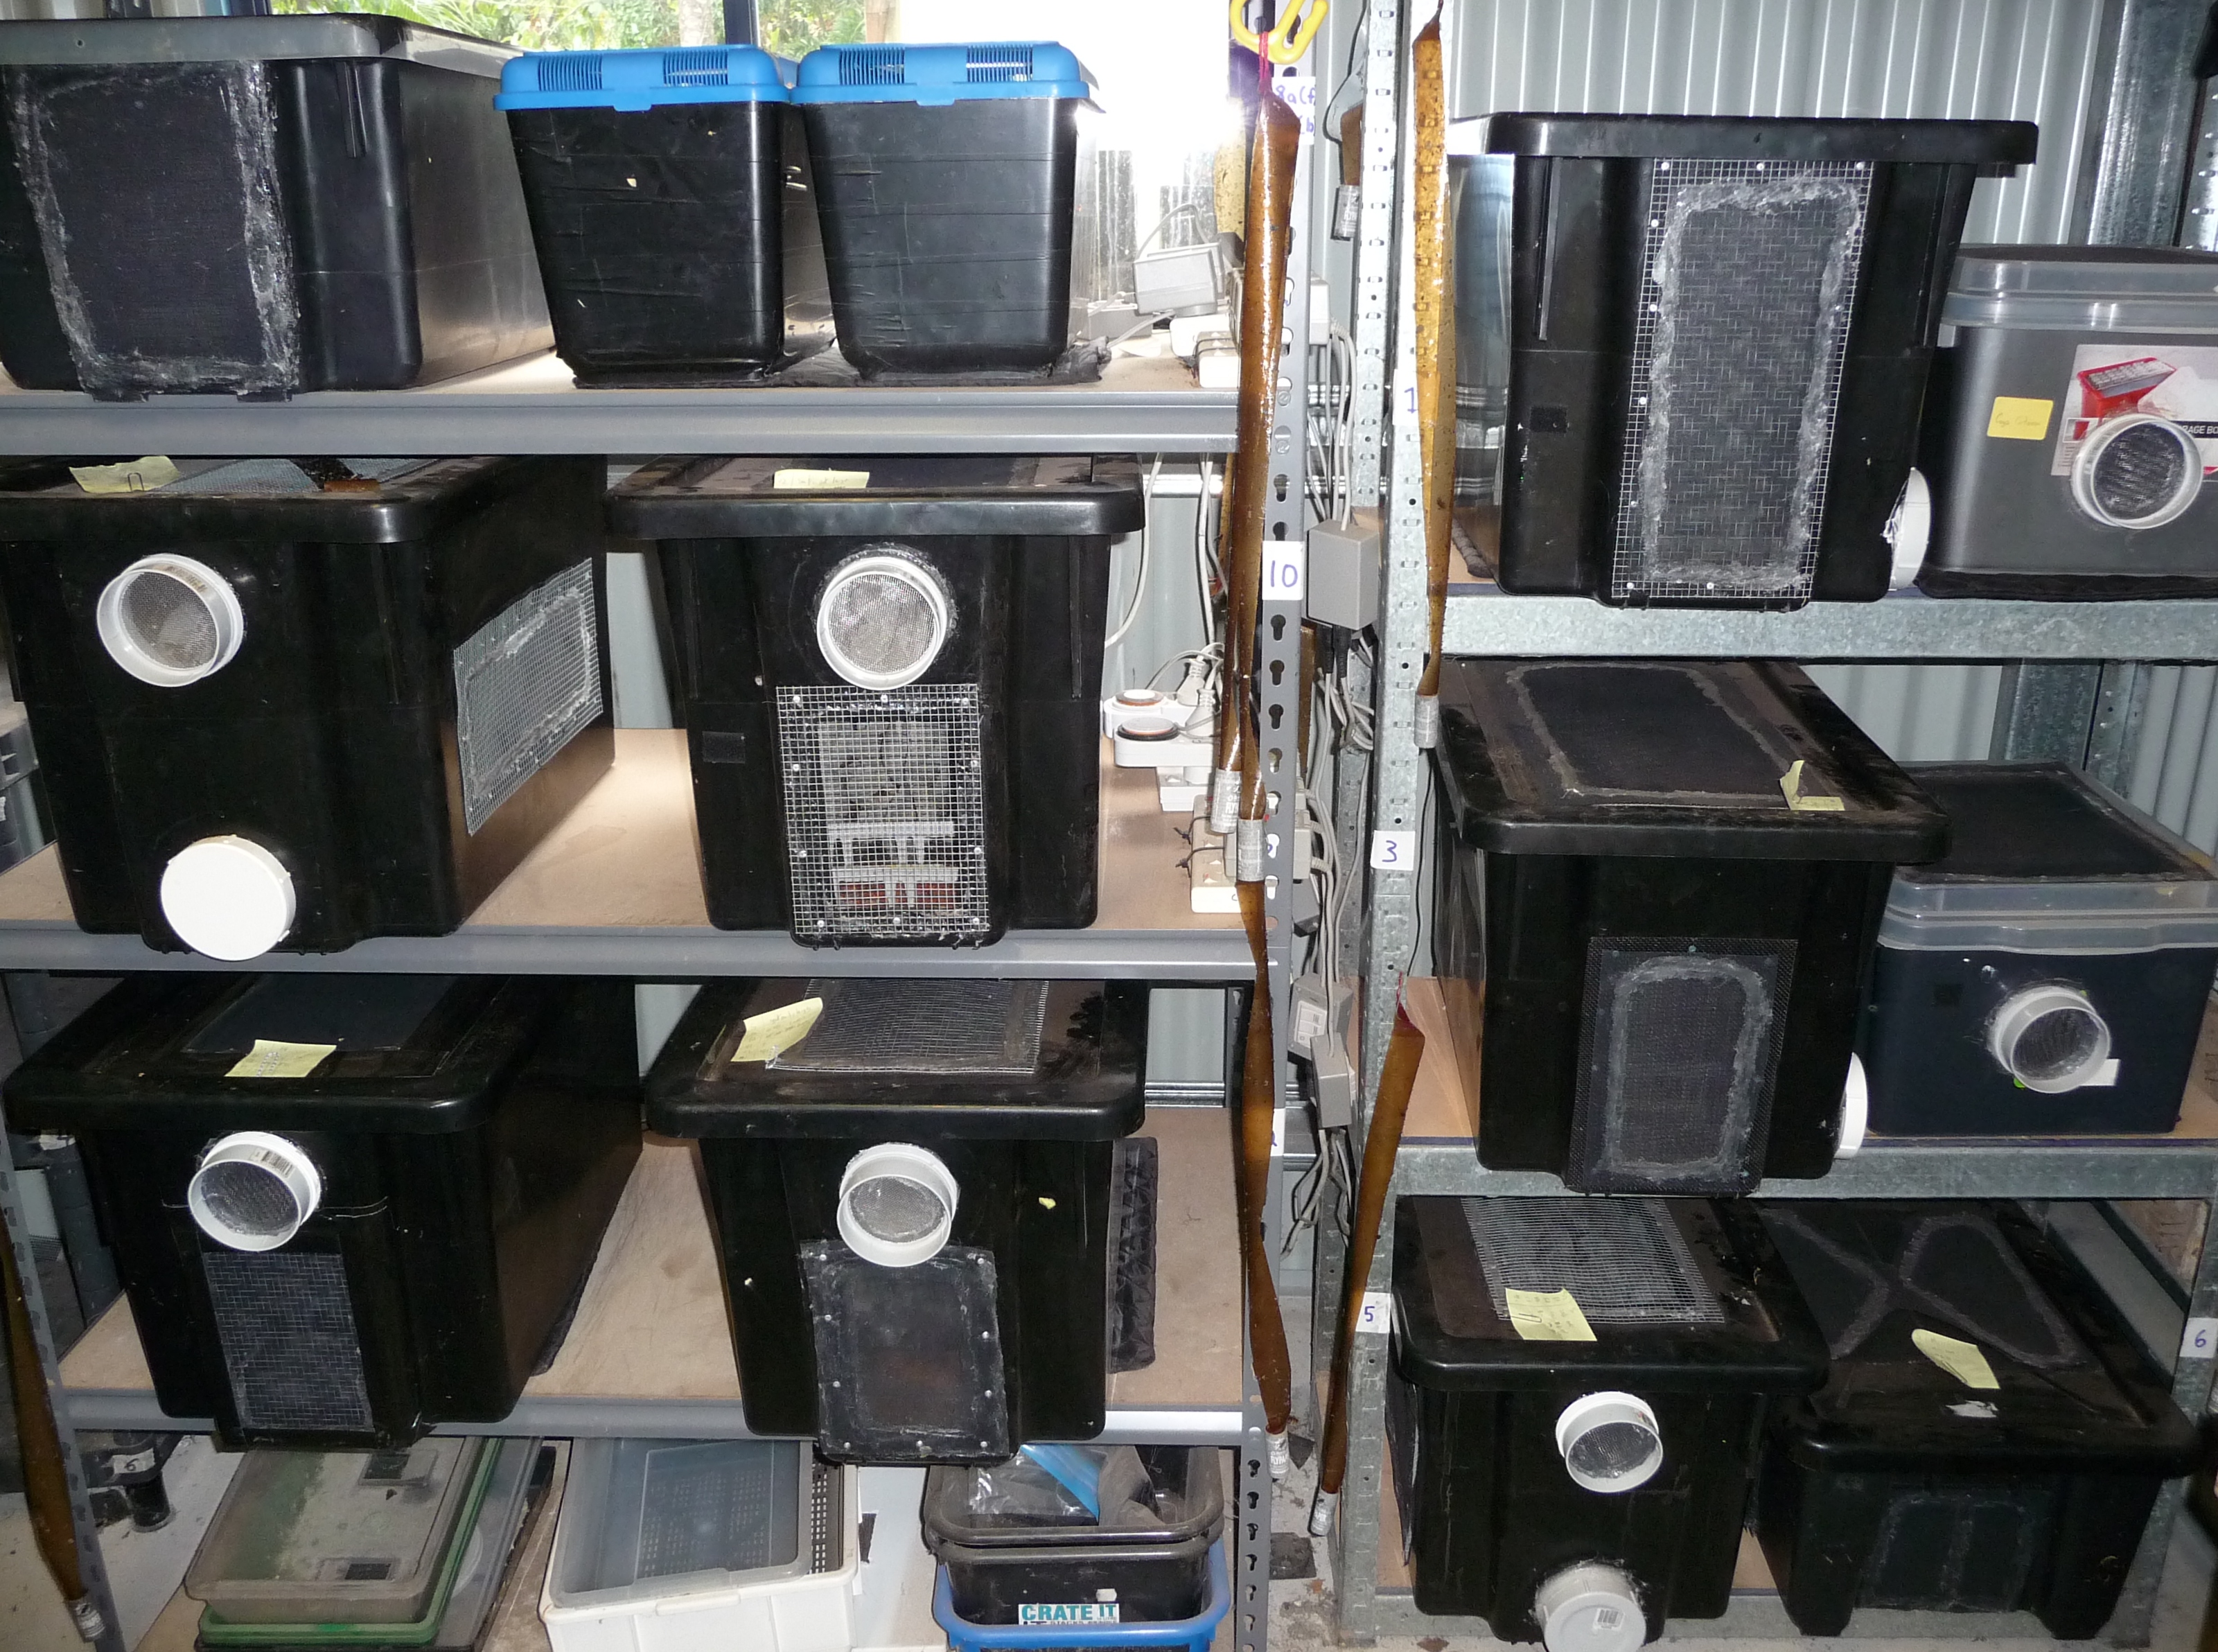
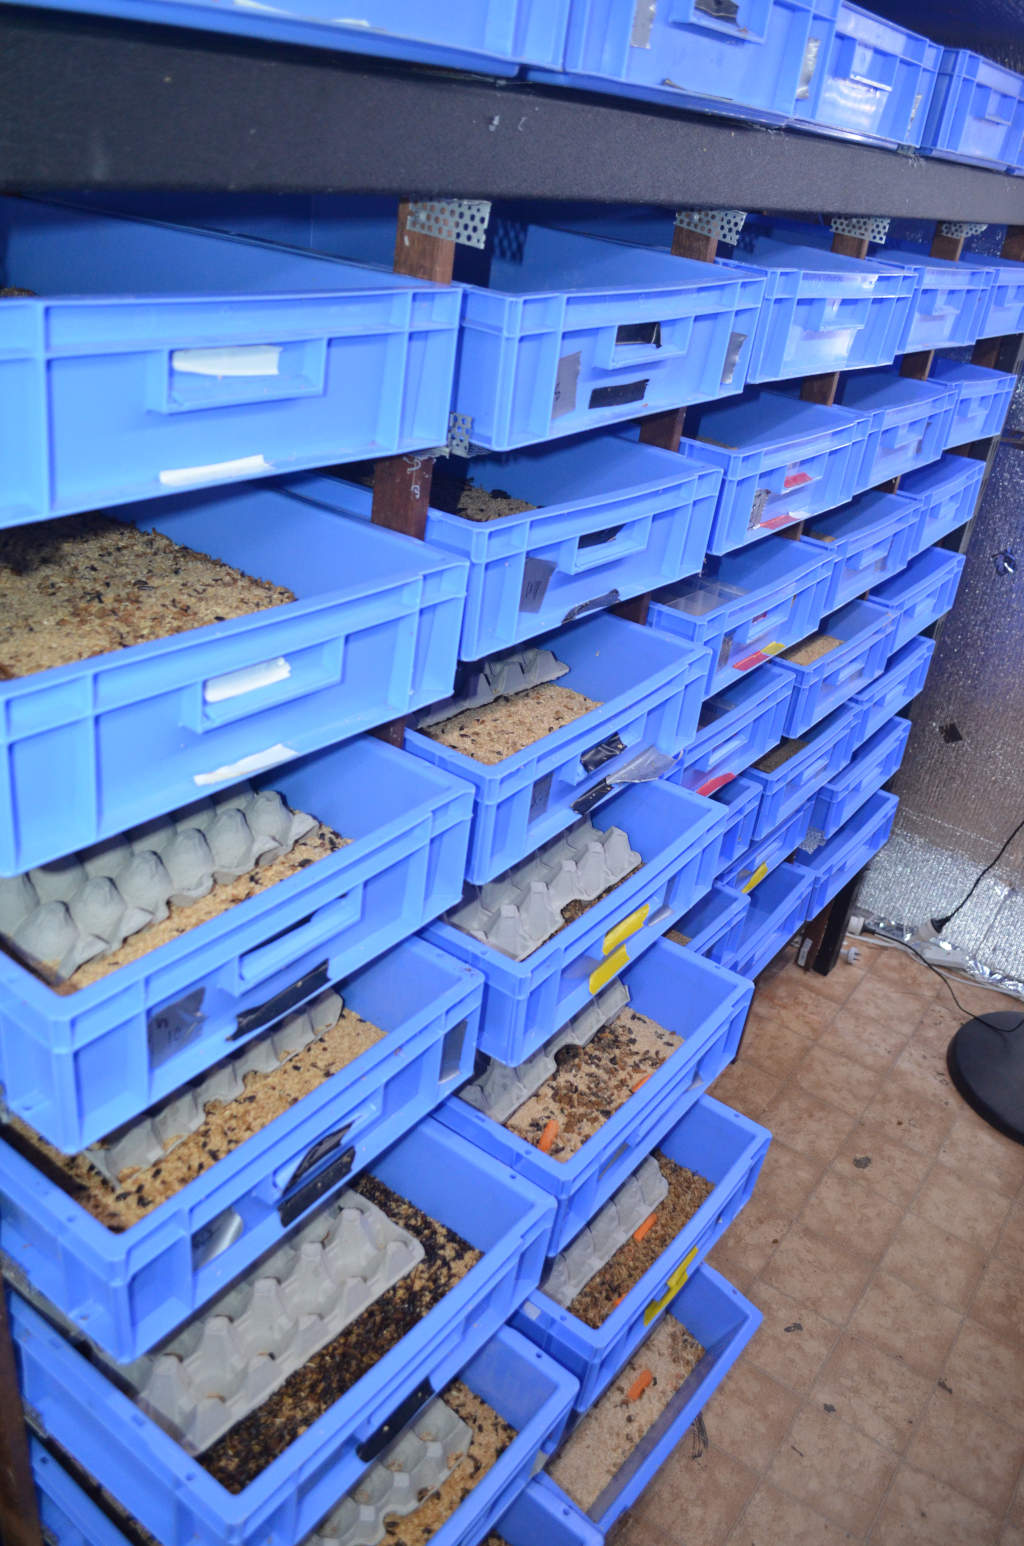
My preferred heating method for small/medium scale production is heat mats for the following reasons: (Refer to adjacent photo).
General
– They are a diffused heat source which spreads heat across the whole container and moves from the bottom to top. This is a very effective and efficient heating method.
– The container can be removed from the shelf to undertake maintenance without getting tangled in cords. This is particularly important with containers which are stacked above each other on shelves.
– Heat levels can be adjusted quickly by flick of a switch (purchase models with variable temperature switches).
– Are well suited to a substrate breeding systems as they heat up the substrate evenly which then moves upwards into the cardboard containers. This will provide greater egg viability, increase productivity and breeding consistency. They are also the preferred heating method for a batch breeding system (for cricket book).
– As they produce localized heat they are a good option if you have a multi-use shed/room, that you do not want to heat the whole area (i.e. is used as a storage and an insect breeding area).
– They are efficient as nearly all the energy is converted to heat and not light.
Choosing Heat Mats
Reptile mats/coils are better than wildlife rescue as they are designed to achieving higher temperatures which you need for insects. Many heating mats for Wildlife rescue or humans are designed not to overheat mammals making them an inadequate heat source.
The only drawback to heat pads is that they are relatively expensive to purchase (around $50-70 Australian) and are best suited to small to medium size colonies. The internet now has a range of cheap heat pads to choose from. For the 70L containers described in Section 3.1 , i.e. 65cm long by 42cm wide (25.59 by 16.53 in) you will need a 40-50W rated heat pad for a temperate environment (mild to cold climates). You can get away with a 40-45W rated heat pad in tropical environments. You may be able to reduce the costs of purchasing heat pads by approaching a large wildlife rescue organization that purchases them in bulk.
Tip: The transformers of heat pads can be heavy, particularly when many are placed onto a single power board. Secure top heavy power boards to the shelf by drilling holes in the shelves and using cable ties to secure the power board (Refer to adjacent photo).
Heat Coils
Heat Coils are a long plastic coated coil (like a long rope) which can be placed underneath the breeding container. If you can’t afford heat pads, heat coils are a good alternative. The Coil can be placed in a zig-zag configuration to get even heat distribution. The coil can be kept into position by tying it into position (using cable ties) on a metal grid. The advantage of heat coils is they are cheap and adaptable. For the 70L containers described in Section 3.1, i.e. 65cm long by 42cm wide (25.59 by 16.53 in), a 40-50W rated coil that is 5-6m (16.4-19.7 feet) long, would be sufficient for a temperate environment (mild to cold climates). You can get away with a 40-45W rated heat pad in tropical environments.
Tip: Place a ceramic tile beneath a heat mat or coil. The thermal mass of the tile will help conserve heat and is not flammable.
Reverse Cycle Air Conditioner
Air conditioning is one of the most effective ways to heat and cool larger insect farms. They generally require closed spaces to prevent heat or cool air from escaping. Many people think that air conditioners are expensive and require elaborate set ups, however you can get second hand reverse cycle room air conditioners for just a few hundred dollars. For people wanting to breed larger quantities air conditioners are one of the most cost effective ways to heat and cool a insect farm.
Click here for more details on Air Conditioners.
Element Heaters
For large commercial facilities the most cost effective method of heating large numbers of containers is to heat a room/shed using thermostatically controlled heaters. Various options are available including electrical, radiator/ceramic heaters or reverse cycle air conditioner/heaters. Always be aware of fire hazards when using element heaters.
Heat Lamps/Heat Emitters
A heat lamp is an incandescent light bulb, and a heat emitter is a ceramic bulb. The advantage of a heat emitter is that it is more robust, will last longer, and more heat efficient. The disadvantage is it is more expensive.
Many people have used heat lamps successfully and they can be made relatively cheaply when compared to purchasing heat pads. For safety reasons you should purchase heat lamps from a pet store or get a qualified electrician to install larger systems. Personally I have not found heat lamps/heat emitters to be very user friendly and they are not my preferred heating method for the following reasons:
- Cords are connected to the lid which gets in the way during harvest and maintenance activities
- There is an inherent fire and electrical risk associated with making and operating them
- You need to replace the bulbs on a regular basis to regulate the heat output between seasons.
- They are a point source of heat which creates heat gradients within the container.
- Heat source comes from the top. As heat moves in an upward direction, heat does not effectively penetrate the lower sections (and substrate if applicable) of the container and heat is lost through the lid. Heat penetration to the lower sections of the container bottom is important for a productive substrate breeding system (Refer to Chapter 9.0- Substrate Breeding System).
- Are not as energy efficient, as some of the energy is used to produce light.
Solar Panels
In recent years solar panels have come a long way, offering greater energy generation from less solar radiation. For large scale operations solar should be investigated as a way to reduce energy costs. In summer the cooling costs of air conditioning can be virtually completely removed with solar. It can also significantly remove the day costs of heating.
For smaller operations you can get cheap solar kits (panels, inverter, and batteries) which can be purchased from solar and hardware stores to produce enough electricity to run large numbers of heat pads etc. For instance an $80 solar panel can run approximately 7 heat bulbs (100W each). This technique has the potential to eliminate the heating costs reptile enclosures and cricket breeding heat pads.
Solar Air Heaters
This is an innovative system which holds good potential to inexpensively heat large rooms for free during the day. There are many different designs but the principle is generally the same, the sun heats an enclosed metal box (located outside of the building) and the hot air rises to the top and is extracted via a solar powered fan extractor. A relatively small unit can produce large amounts of heat, even in cool temperate environments.
Commercial units can be expensive, however the internet has many sites which give DIY instructions to build inexpensive solar air heaters using scrap roof tin and guttering materials. The air pump will need to be linked with a thermostat to prevent them from overheating the crickets in hot weather and to activate heaters in cold periods or at night. The great advantage of solar heaters is that your heating for half the day is free, and they can heat large rooms which would normally be expensive. This reduces the expense associated with heating from pad/light heating systems. For further information, search “Google” and “U tube” under the heading of “solar air heaters” for DIY instructions and books to build solar air heaters.