Overview of Screen Method (Yellow Mealworms)-Small Scale

As explained in the Which Breeding Method do I Choose section the Substrate method is best suited for hobbyists. The links and diagram below provide a summary of the method. More comprehensive instructions are provided in the “Operating a Screen Method” section (see link below):   

Photo of a mealworm screen breeding system. Two trays placed on top of each other. Top tray has pupa platforms, beetles, egg cartons and substrate.

Screen tray on top with components (substrate, beetles, pupae trays, pupae). Collection tray on the bottom. It interconnects into the screen tray.

Basic Structure (Click Links Below)

A worm farm comprises of following basic sections:

Breeding Trays: Reproductive stages of the lifecycle (Pupae, Beetles and Eggs)

Rearing Trays: Growing worms.

Breeding block: A complete block that houses breeding and rearing trays.

Method Overview

5 Trays in total, comprising of:

1 Screen Tray

The screen tray houses: substrate, super worms (worms about to go to pupae), pupae, pupae platform, beetles, eggs and baby worms.

A pupae platform is placed on top of the substrate where the beetles emerge and fall into the substrate below. Adding egg cartons is optional, however it will increase the surface area and density of beetles. From here the beetles lay their eggs in the substrate. Once the baby mealworms hatch, they are motivated to move down into the substrate and fall through the screen bottom of the tray, to avoid being eaten by the beetles.

1 Collection Tray

The collection tray is a standard tray that has substrate in it.  Baby mealworms that have hatched in the screen tray fall through into the collection tray where they are safe from predation by beetles.  The collection tray is replaced regularly (standard try with substrate) and moved to the rearing section.

3 Rearing Trays

The more frequent you replace the collection tray the more separation of age groups that occurs. this results in less cannibalisms and higher output.

We recommend as a minimum of  3 rearing trays  which houses small, medium and large mealworms separately. After approximately 10-12 weeks (at 25-28 degrees) in the same tray, the baby worms are now large size and ready for harvest. Some of the mealworms need to be put back into the Screen tray to replace the beetles that have died (we recommend 5-10% of worms for hobbyist).

How Many Trays do I Need

Yellow mealworms take approximately 10-12 weeks (2.5-3 months), at 25-28 degrees to reach large size. Non optimal conditions will take longer. It takes approximately 2 weeks to go from medium to large size.

The simplest system you can have is a single tray which houses all age groups and lifecycles (Beetles, pupae, worms of all sizes). This works however you will get significant cannibalism and lower output. The more rearing trays (worm trays) you have, the more separation you get between the age groups which results in less cannibalism and greater output.

In a commercial situation you filter and separate eggs/substrate every week and place  them into a separate tray. This means you would have 10-12 rearing trays (one for each week of development). This is not practical for many hobbyist so it is up to you how many rearing trays you prefer. Below we describe a 5 tray system (2 Breeding trays, 3 rearing trays) however you can add or remove trays to suite your space and personal preference. You could for instance make 10 or 15 rearing trays, the more trays the higher the output.

Rotation Frequency

Below we describe how to estimate the time period to replace the collection tray using a 5 tray system. The math’s however can be changed to suite any size colony.

As it takes approximately 10-12 weeks for yellow mealworms to reach a large size, each rotation will take approximately 4 weeks (12 weeks divided by 3 rearing trays = 4 weeks). Note its the number of rearing trays which affects the rotation period. If you double the number of rearing trays to 6 you can reduce the 4 weeks to 2 weeks.

The week numbering as outlined above, can be found in the diagram on this page.

Operating a Screen Method

Click Here for how to operate and manage a Screen System

Building a Screen System

Click here to get to instructions on How to Build a Screen Tray:

Maintaining a Screen Method

Click Here for the maintenance schedule for a Screen System

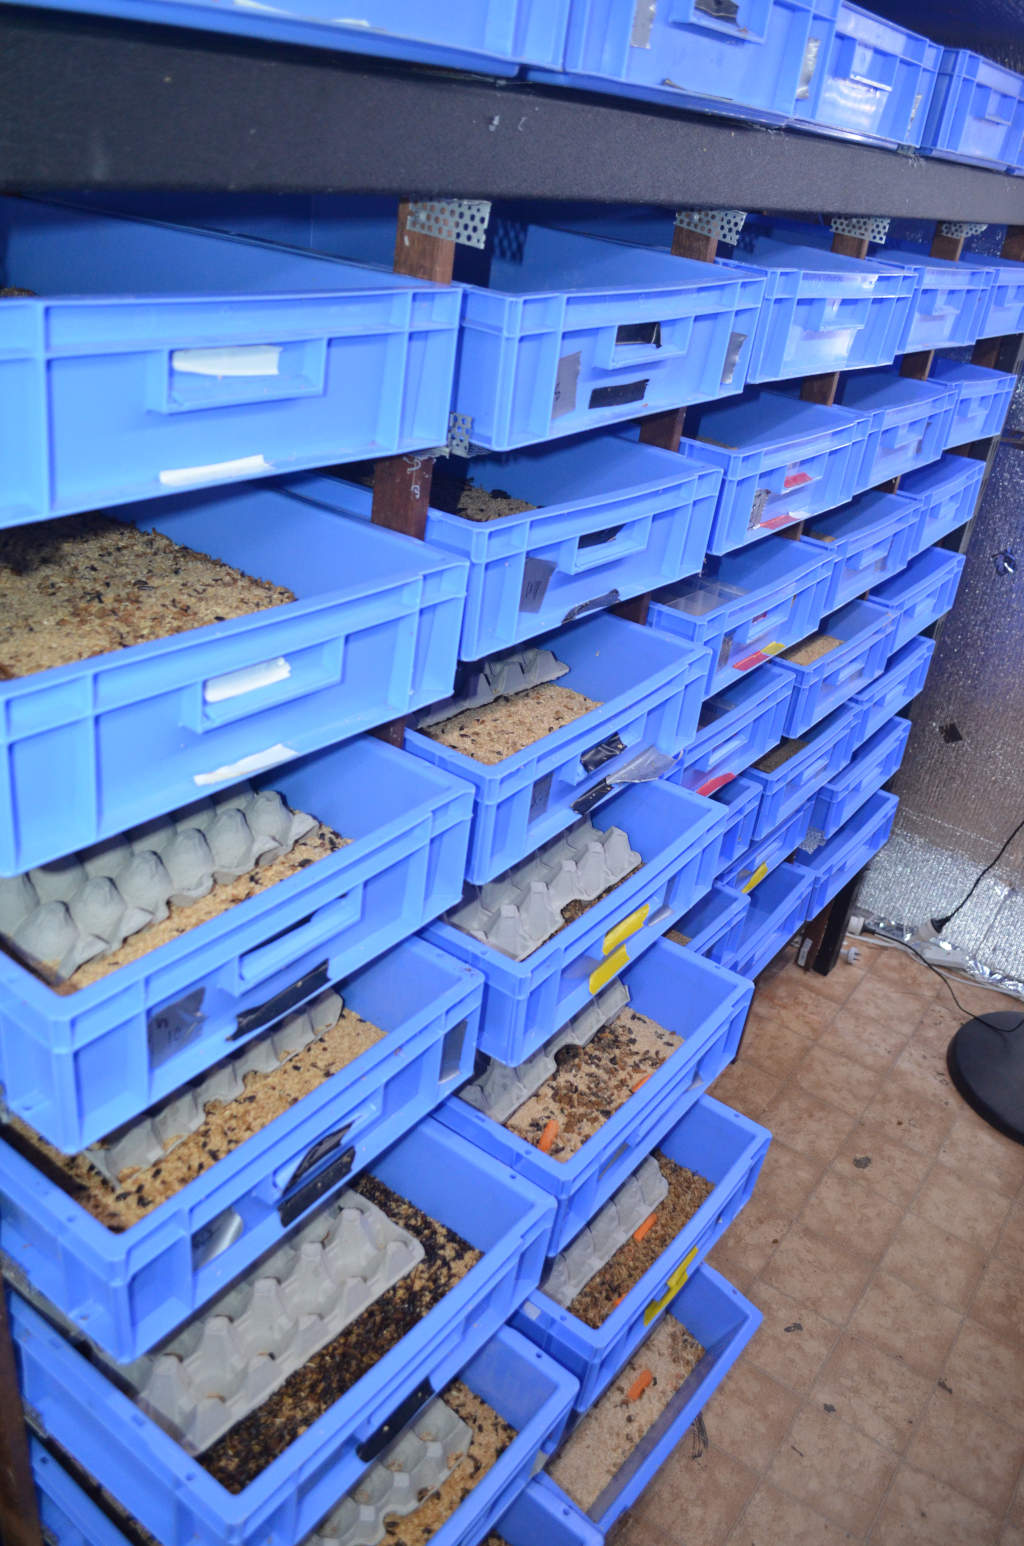
Photo of a prefabricated or bought tray system. Comprises of three separate units next to each other. Each unit has a shiny metal frame with colored pull out trays. Trays are multiple colors.

A screen breeding system using plastic drawers.

Diagram of the Screen Method

BREEDING TRAYS (BEETLES/PUPAE/EGGS)

REARING TRAYS (WORMS)

A screen mealworm breeding system, comprising of two blue mealworms trays on top of each other. The top one has a screen on the bottom.The bottom one has a solid base to collect baby mealworms.
Screen tray (Tray 1) on Top and Collection Tray Below it (Tray 2). So you can see the screening, the components (substrate, pupae platform, worms, pupae, beetles) have been removed. 
Two mealworm breeding trays using the screen method. First tray has a screen attached to the bottom. Second tray is a solid normal tray.
Same Trays shown side by Side:
– Screen Tray on Left-  Houses Beetles, pupae, Pupae trays, substrate and eggs.  
– Collection Tray on Right- Houses substrate and baby mealworms
photo of plus sign
photo of the end of a blue mealworm breeding tray

Tray 3 (week 1-4)

photo of the end of a blue mealworm breeding tray

Tray 4 (week 5-8)

photo of the end of a blue mealworm breeding tray

Tray 5 (week 9-12)